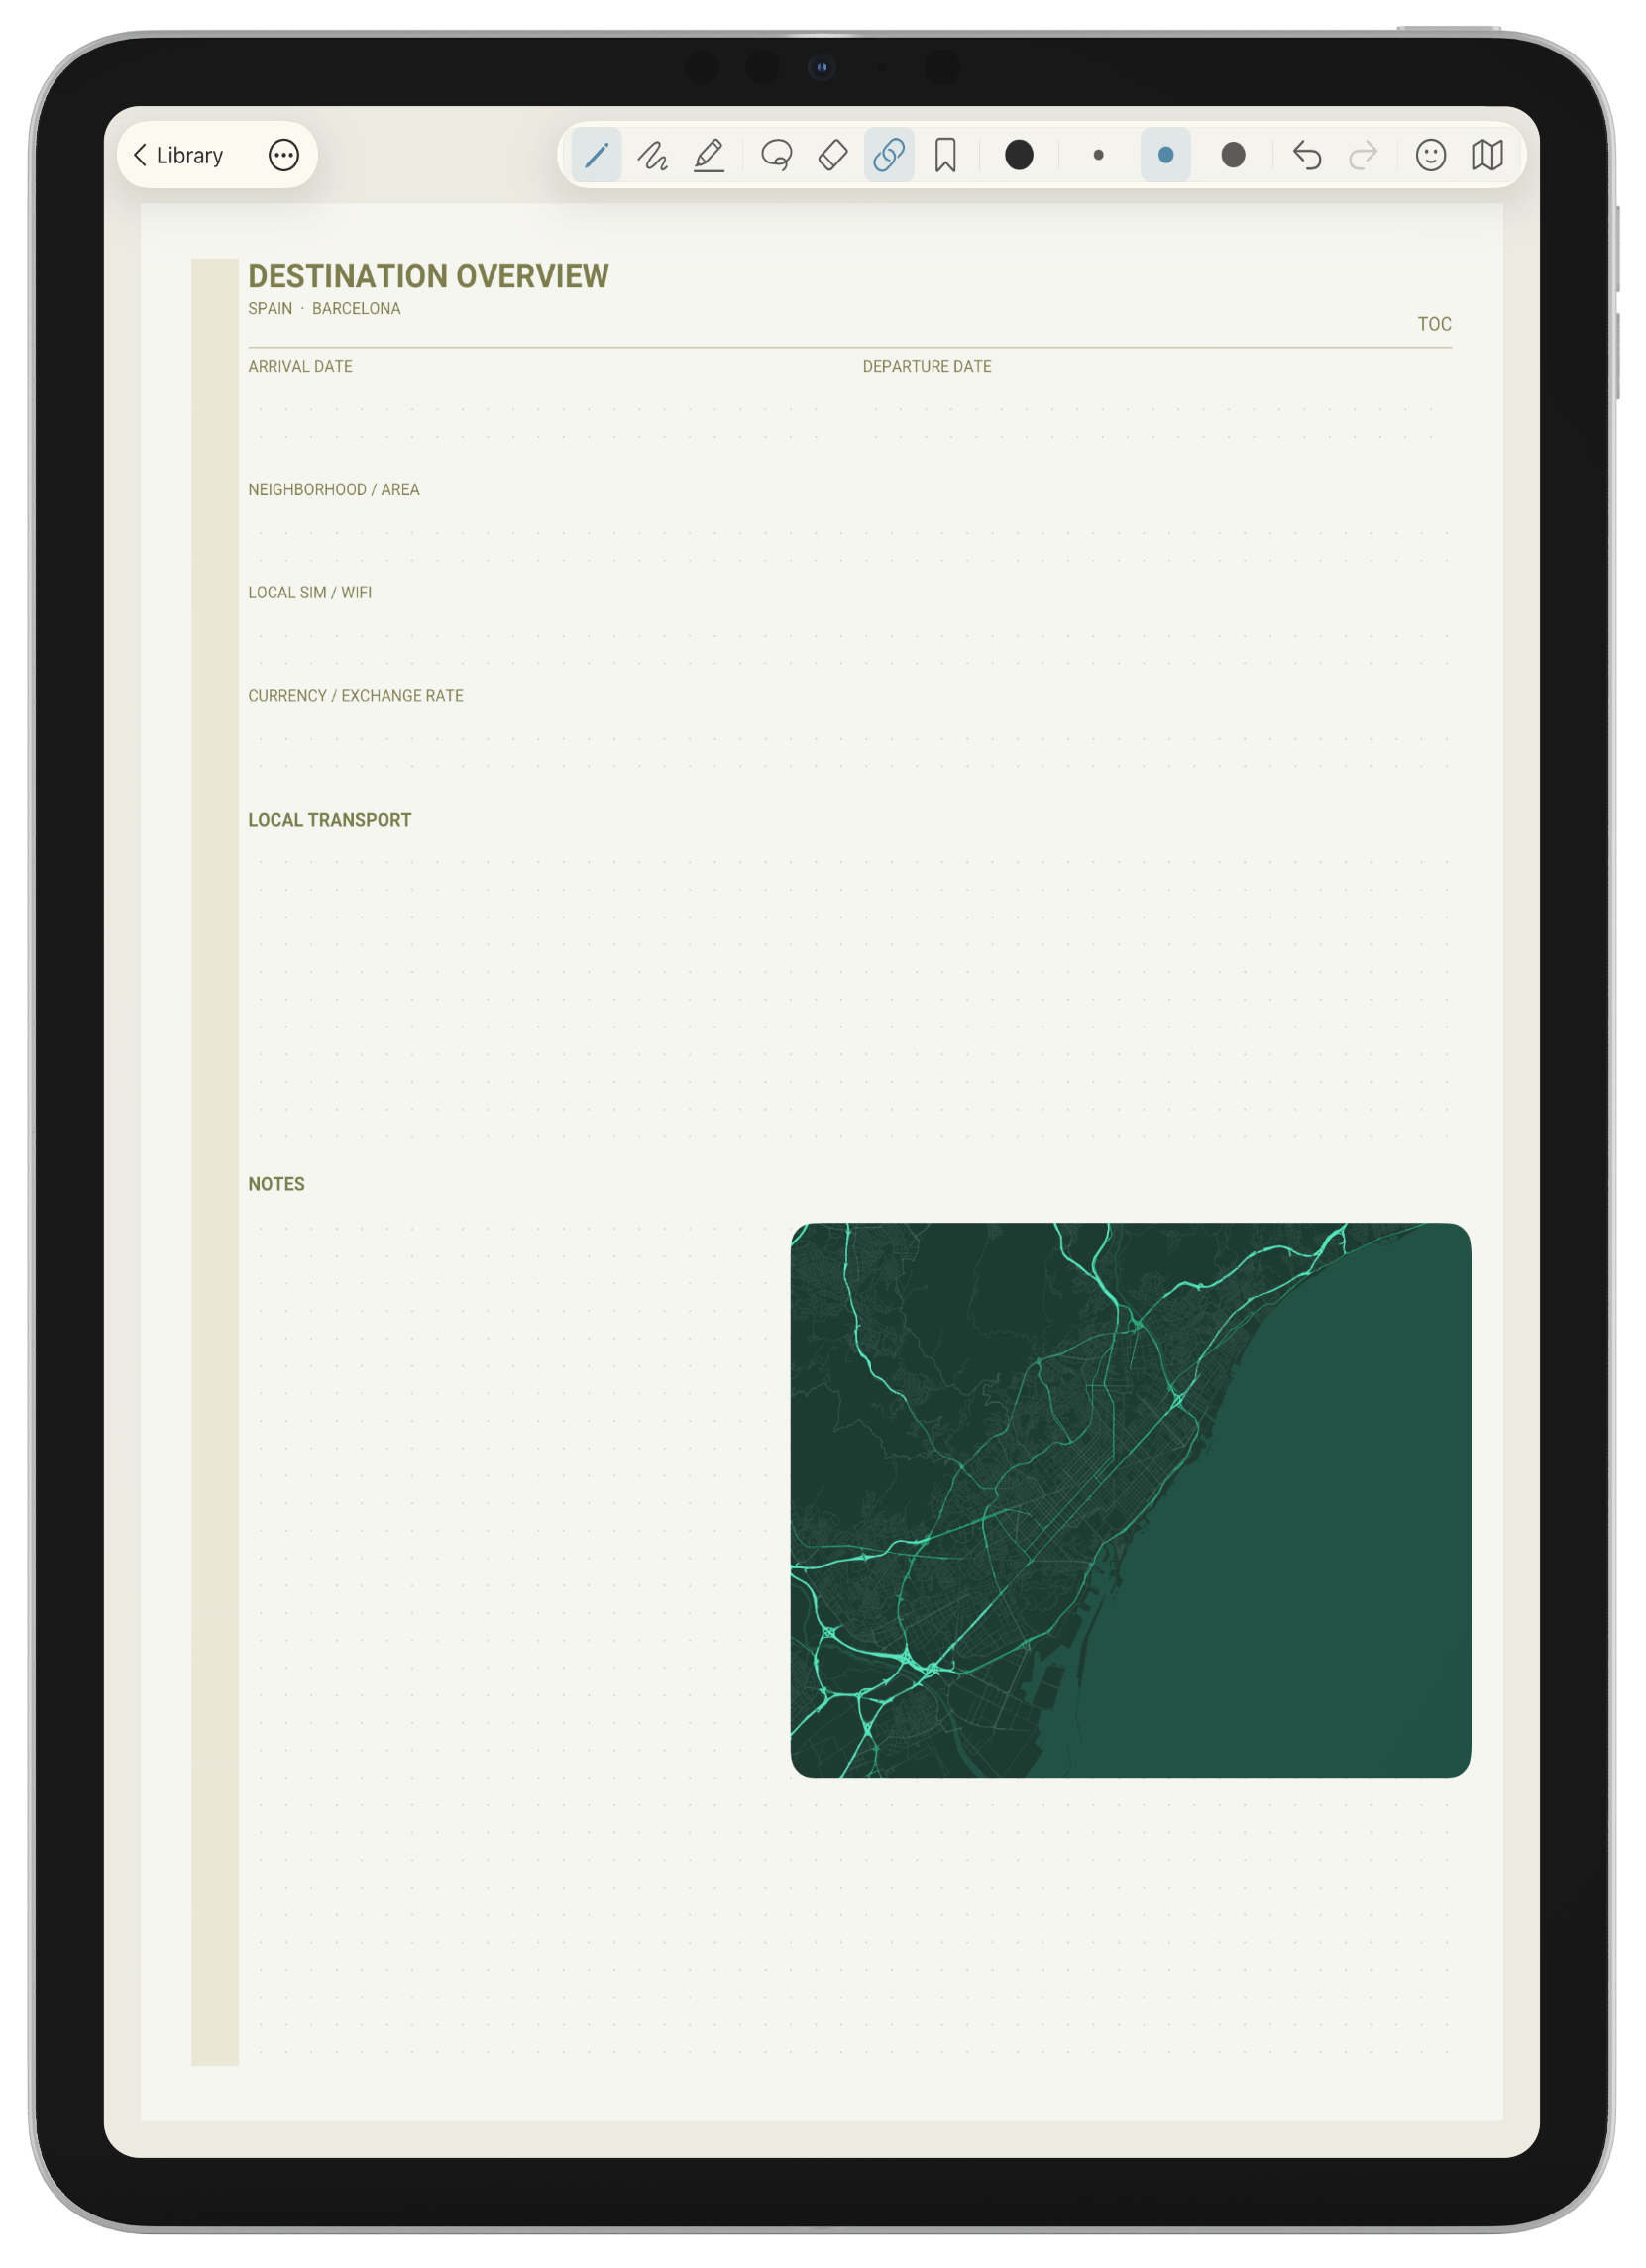
Beautiful Custom Maps
Take your travel journals to the next level with beautiful custom maps you design. Make maps that match your trip and your journal's vibe.
Watch how easy and fun it is to design a beautiful map.
Decorate any page in a travel document with a map.
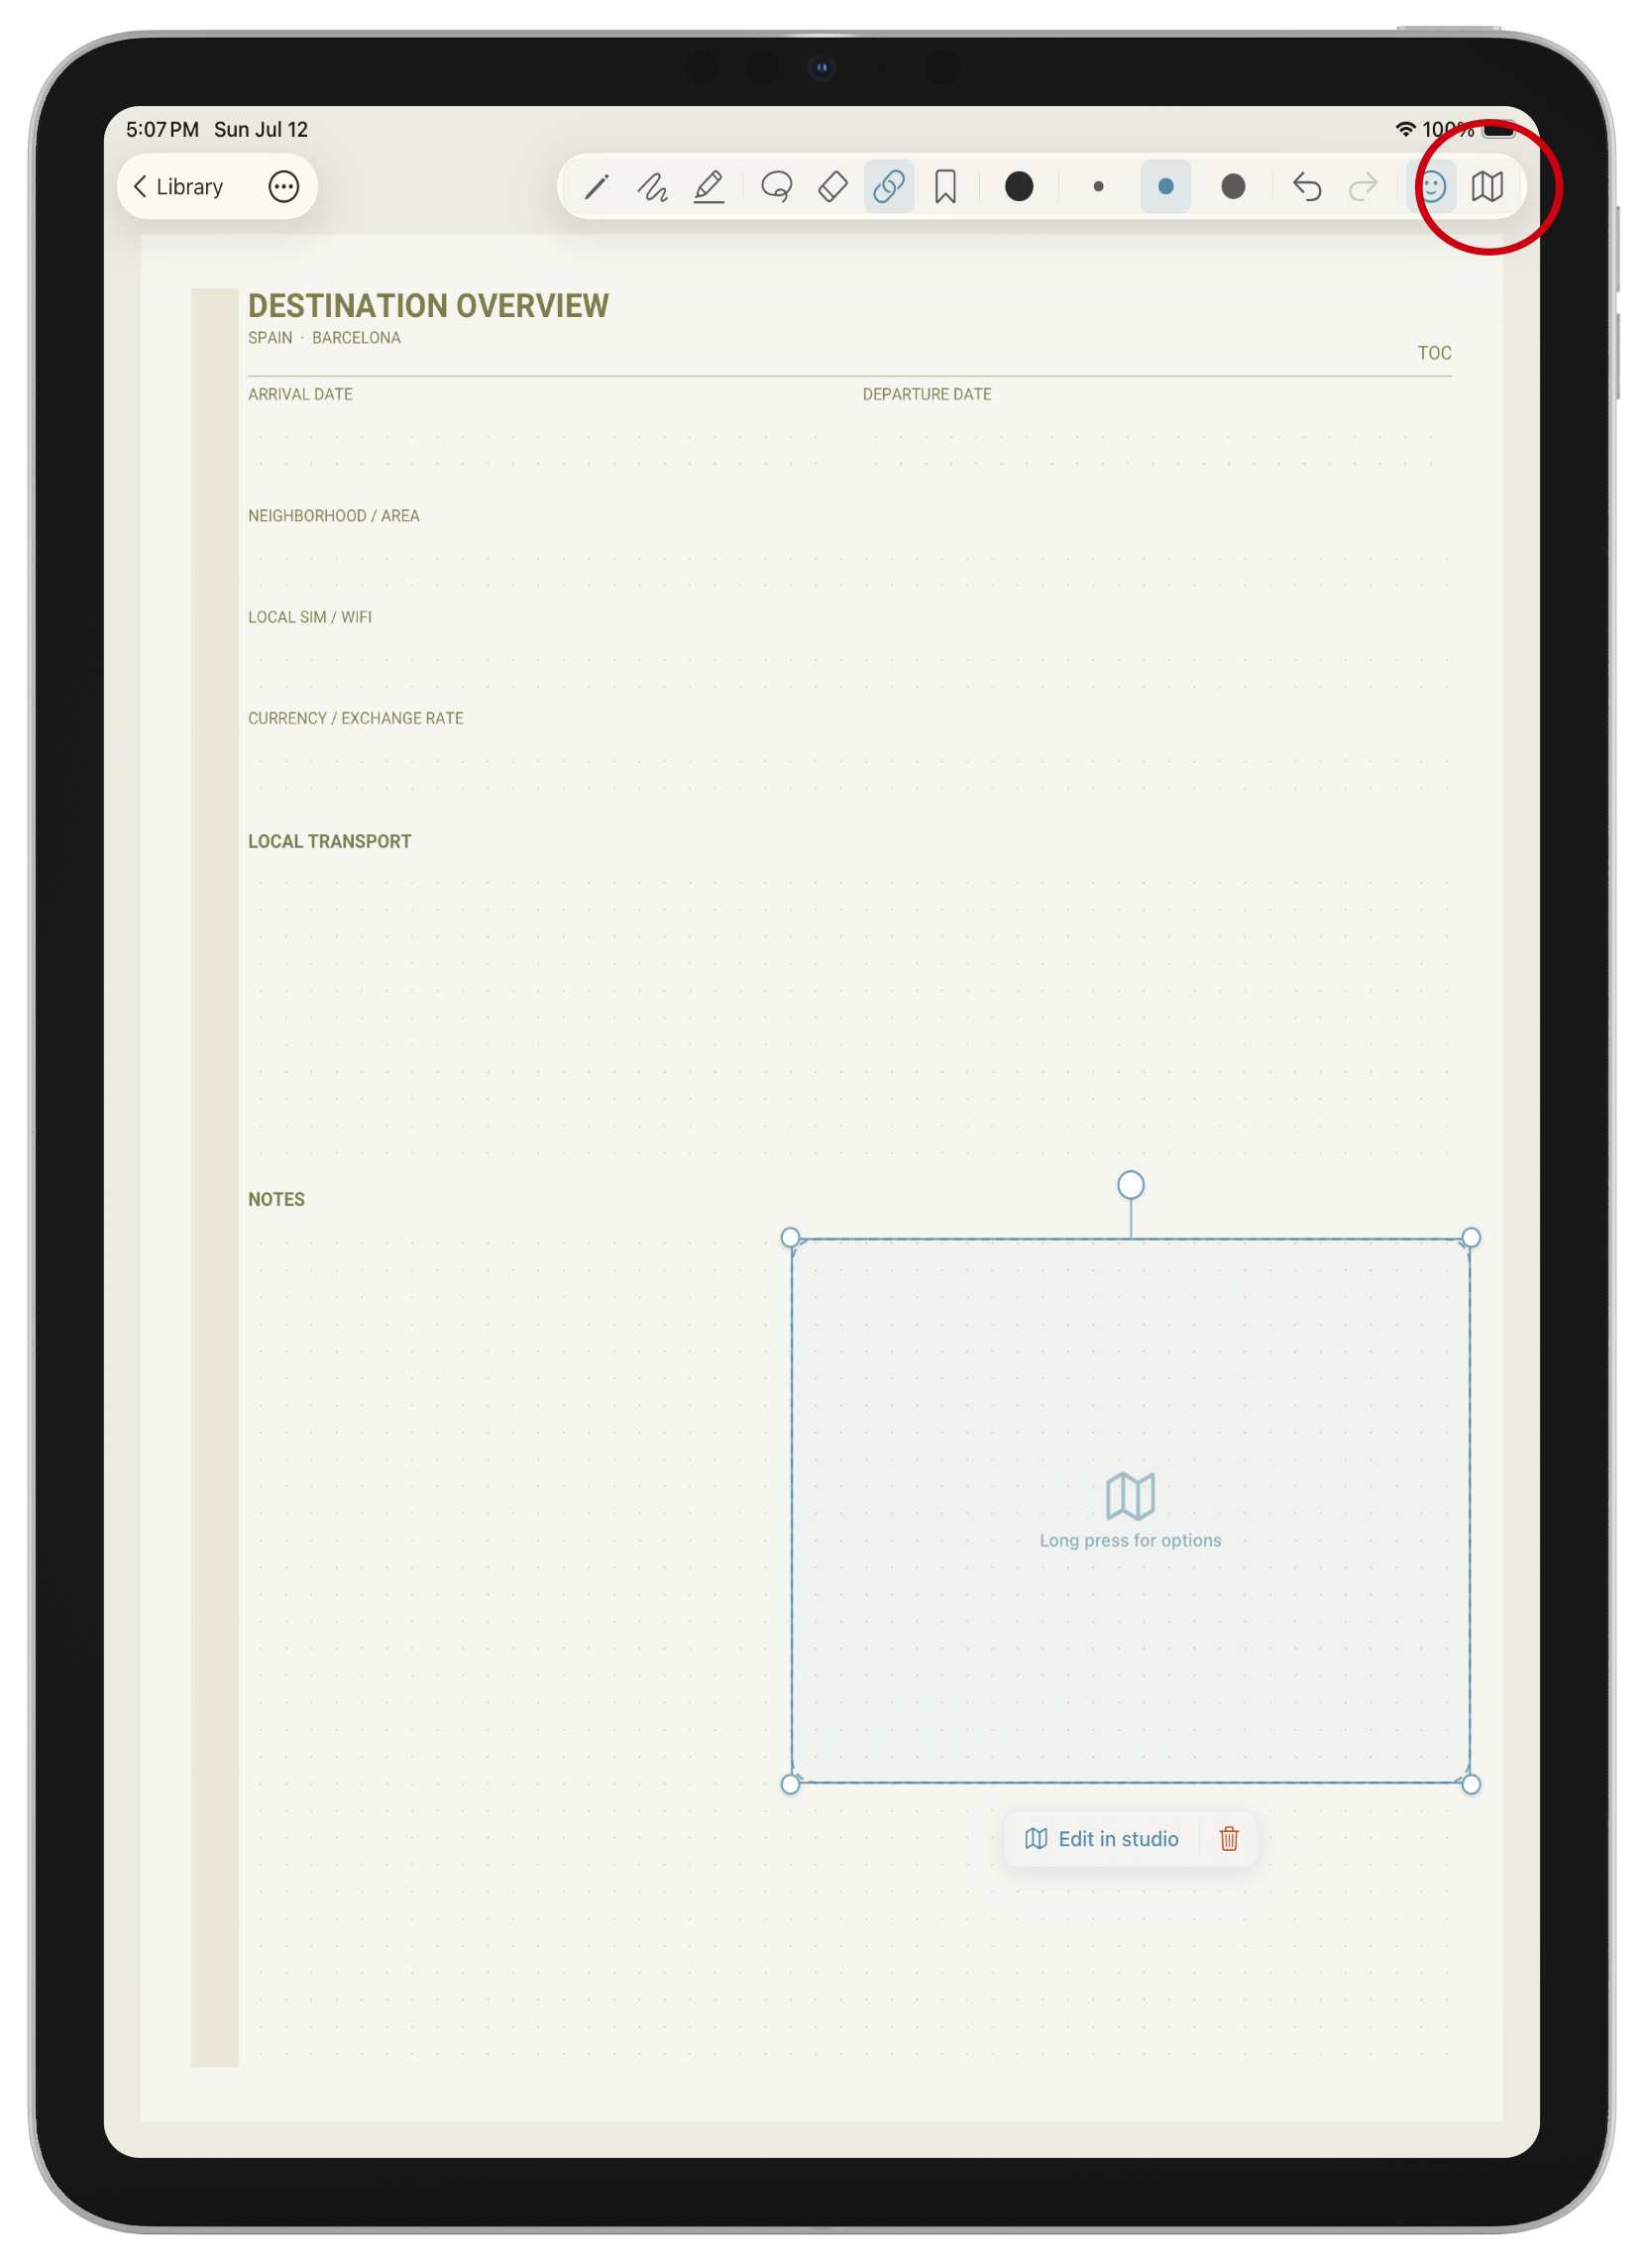
Adding a map image to your travel pages starts with tapping the map icon in the toolbar. A placeholder will appear on the page. Drag it into position and resize it. Although you can adjust it later try to get the size and position you want before entering the map design studio. When finished with this step tap the "Edit in studio" button beneath the place holder.
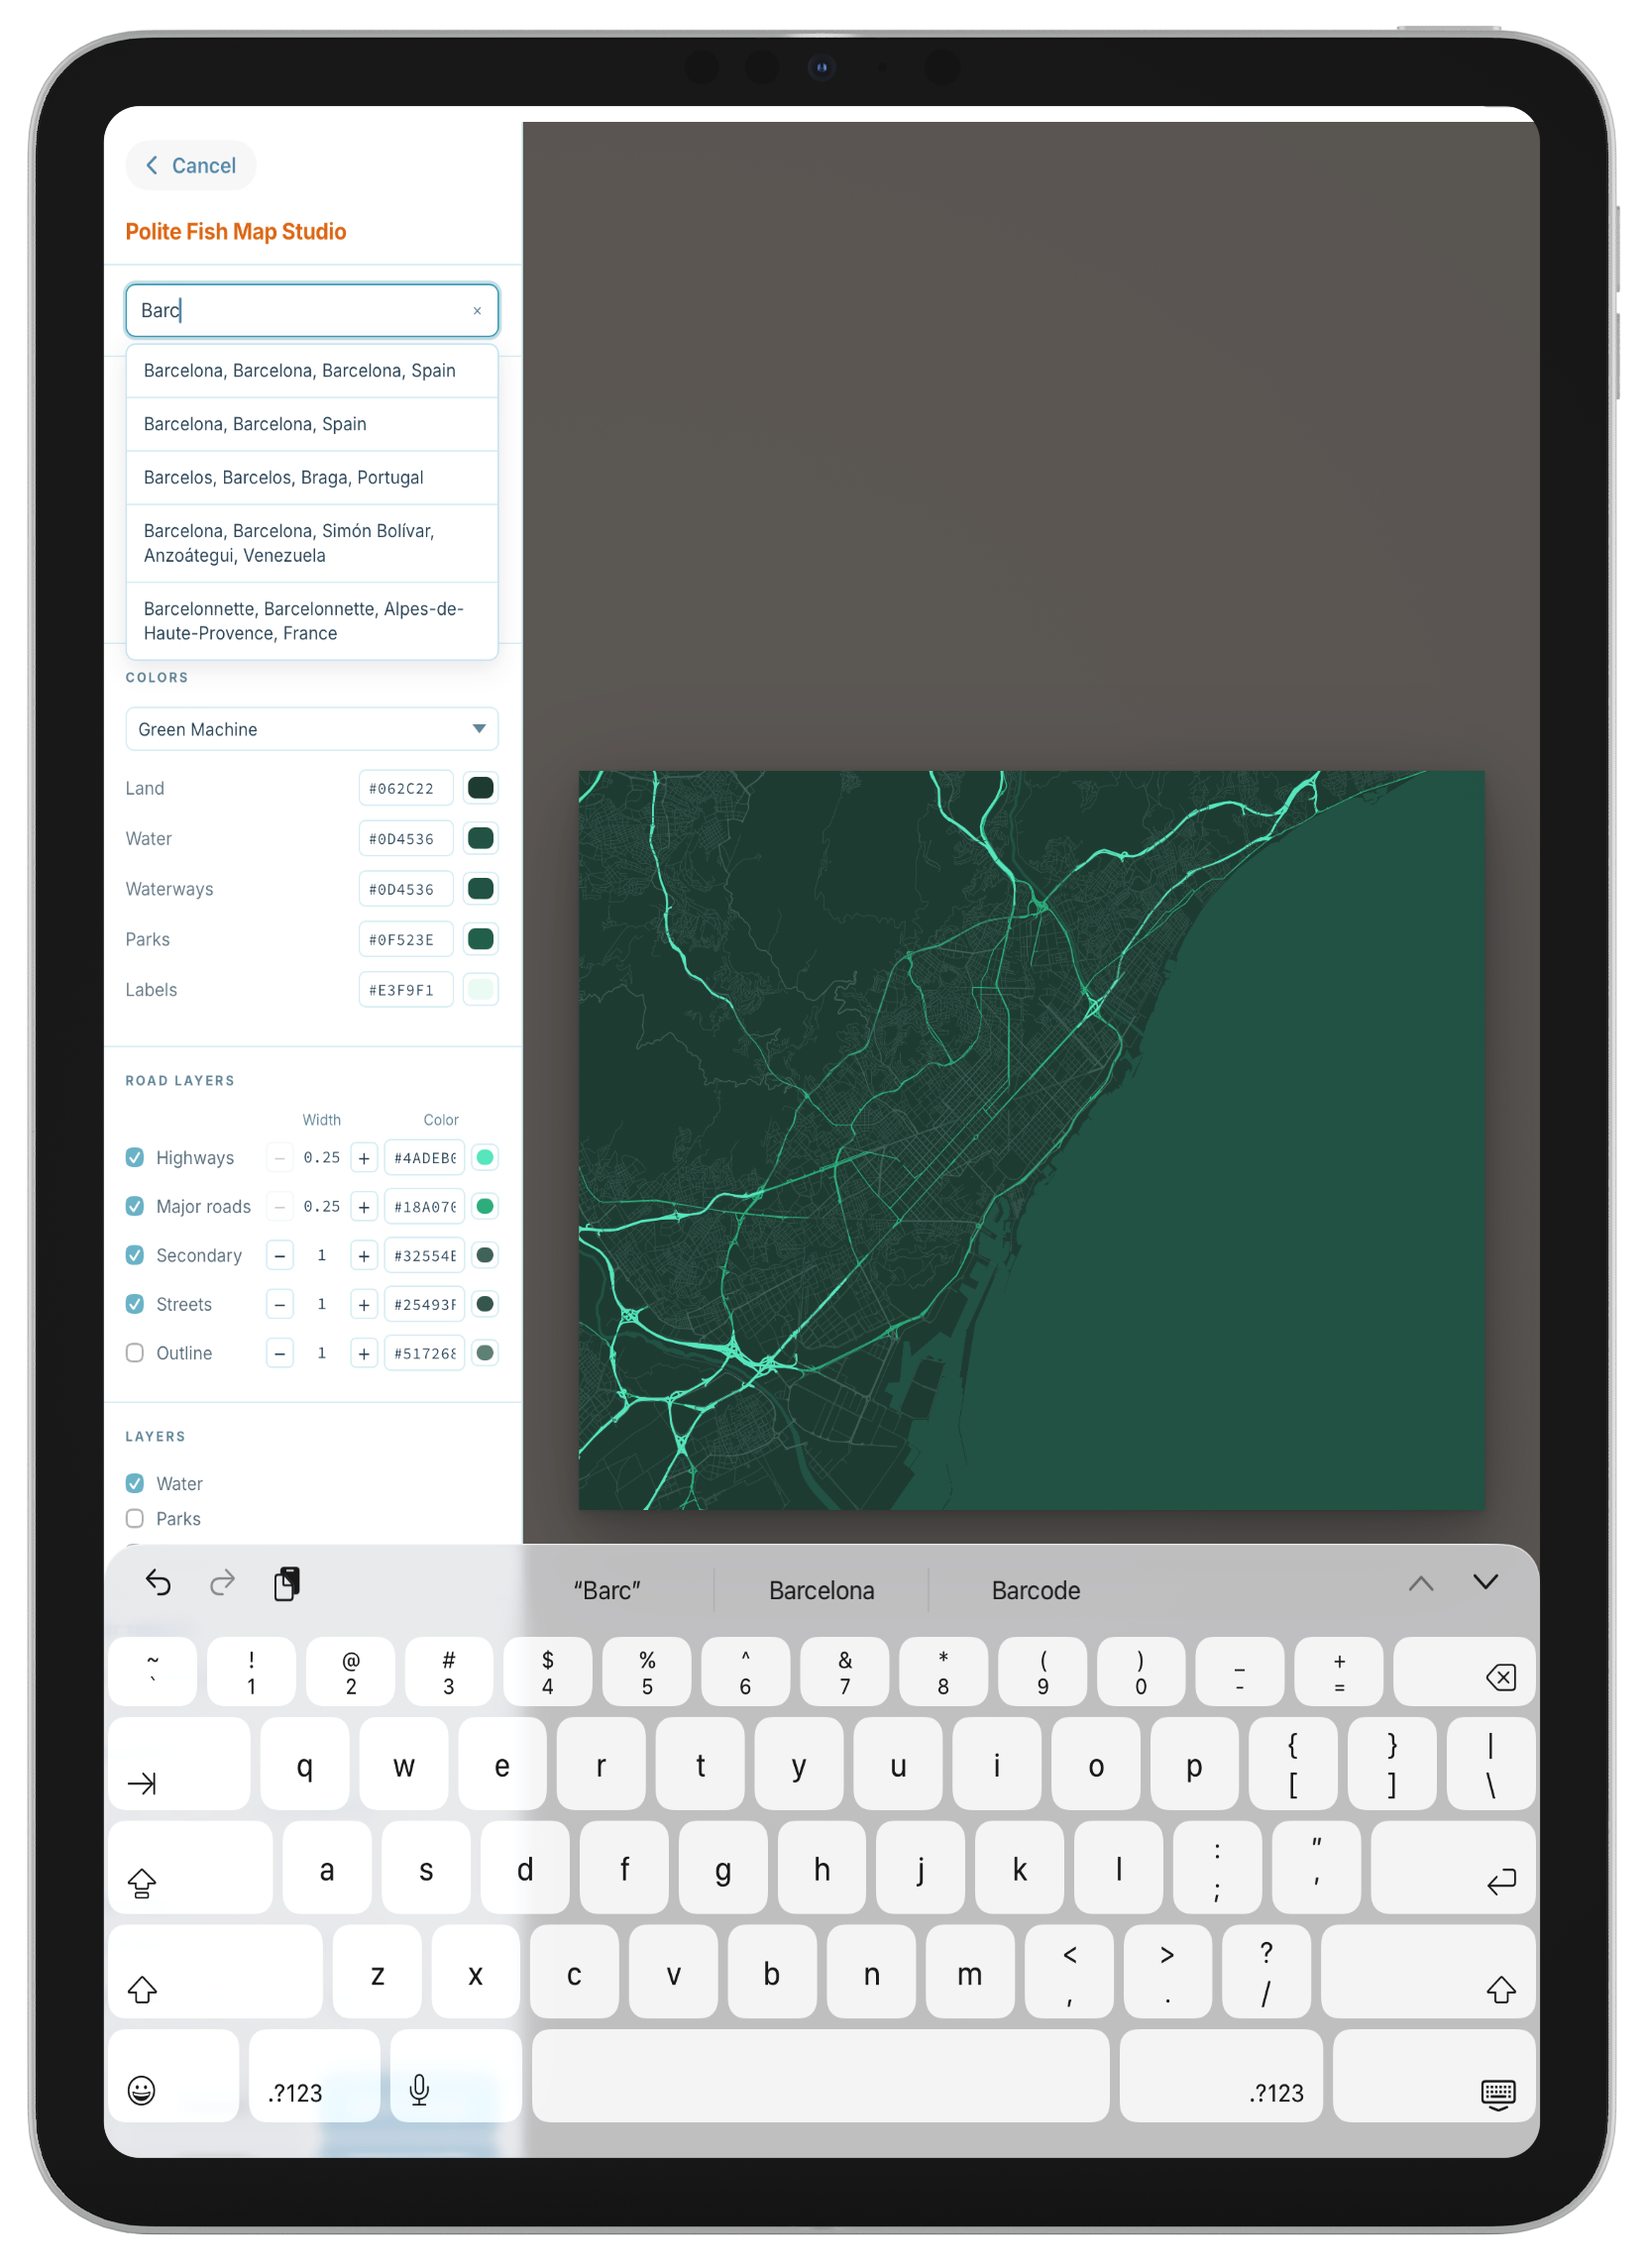
Find map locations easily with the built in search.
After selecting your map location from the search, pinch to zoom the map and pan the map canvas with your finger to get the composition you want. Notice the map canvas is the same shape as the placeholder on your page. This gets you the best image quality.
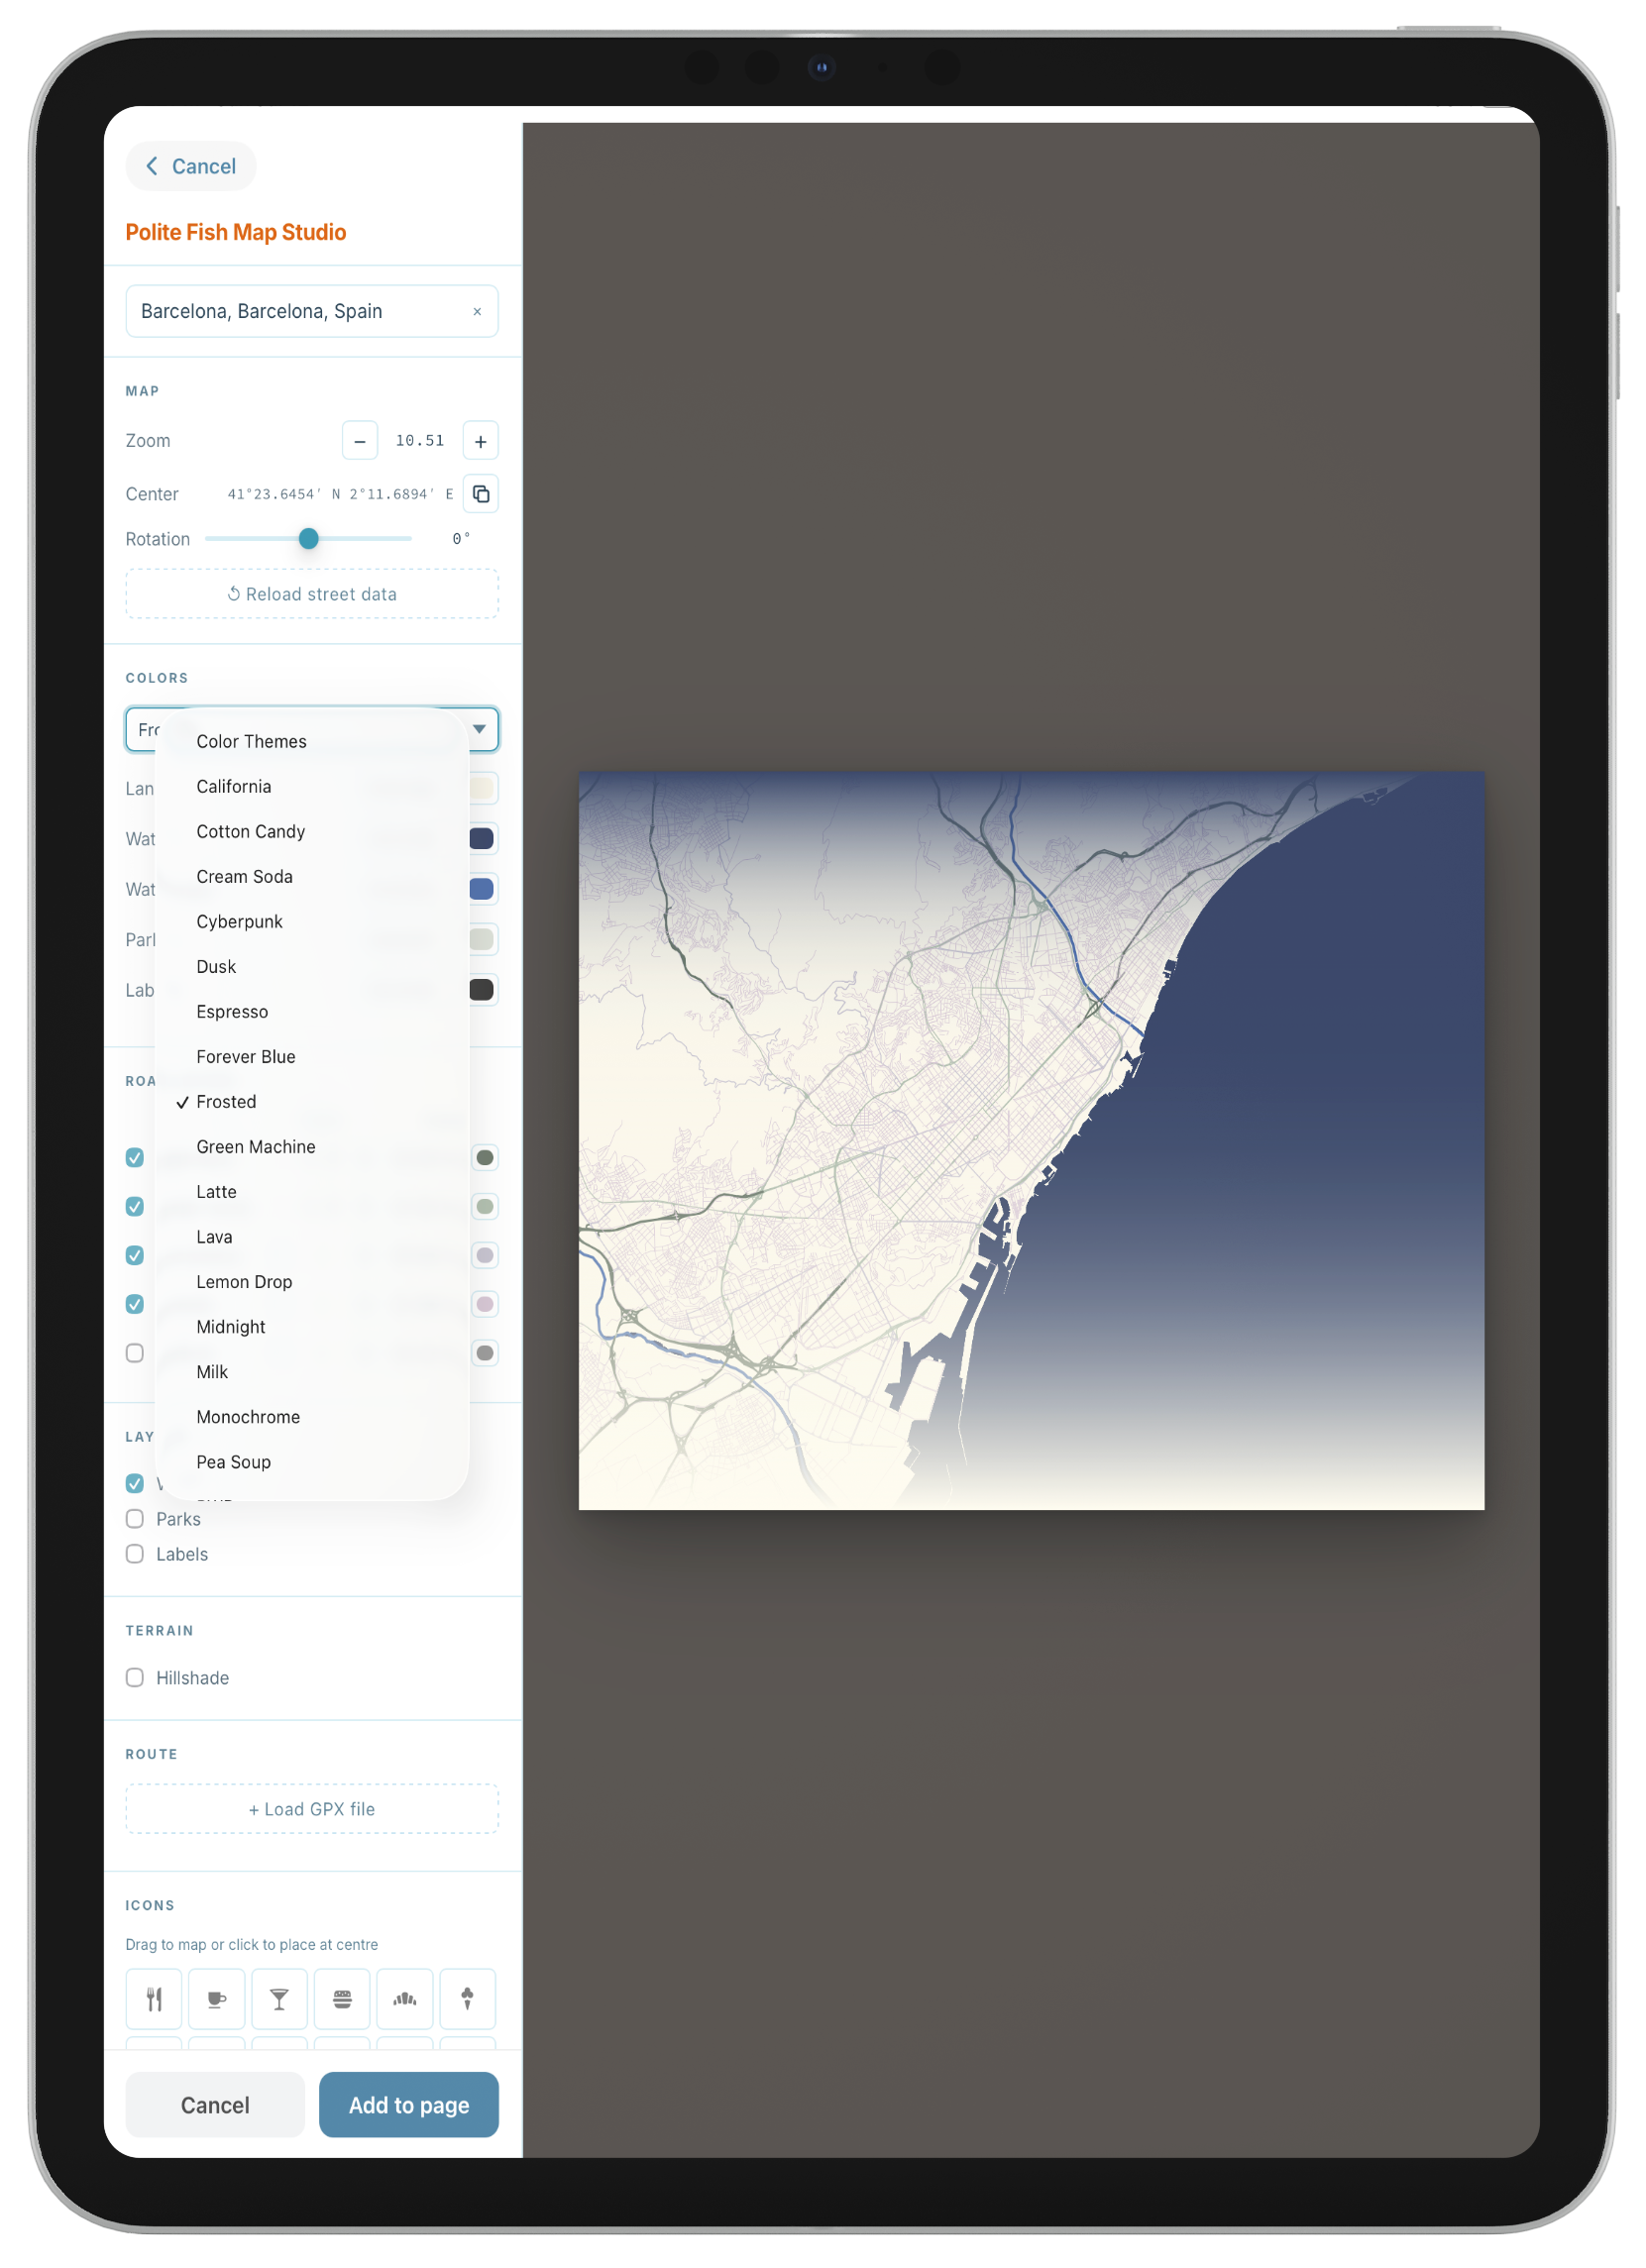
Design a map to fit your planner or journal's aesthetic.
Choose from one of the color presets and customize further with the color controls. To get the map image you want you can:
- Adjust color for the land layer
- Adjust color for different road classes
- Adjust color for the water layer
- Adjust color for the parks layer
- Add icons to the map
- Add text to the map
- Add a route to the map
- Add hillside shading to the map
- Add and color a top and bottom vignette
- Add a link to a route in .gpx format
Place your map image on the page of your travel journal.
When you have the map image you want click the "Add to page" button and the map image will be placed on the page of your journal. Long press the map image to bring up a menu that will let you resize and/or move the map image on your page. If you resize the image tap the button to bring it back into the map design studio and pan the map to adjust the composition. When finished tap the "Add to page" button to reset the map image on your page. It's that easy.